When I was in junior high and high school, I did a lot of counted cross-stitch, but I didn’t do much straight-up embroidery. I haven’t done much needlework (aside from knitting and crochet) since then. Over the past few years, my Pinterest feed has been full of beautiful embroidery. The designs range from cute to fanciful, traditional to modern. I’ve been pinning the gamut with hopes of picking up needle and floss again one day. Lately, I’ve been especially drawn to the Japanese folk embroidery technique called sashiko.
Traditional sashiko calls for white cotton thread on indigo-dyed cloth, but modern applications can be found in other colors. Literally “little stabs,” sashiko stitching is made by a basic running stitch. You might be used to using an embroidery hoop, but being able to scrunch the fabric and take several running stitches at a time is easier without the hoop. This keeps lines straighter and is less taxing on your arm and shoulder.
Three things to keep in mind as you work through a sashiko pattern:
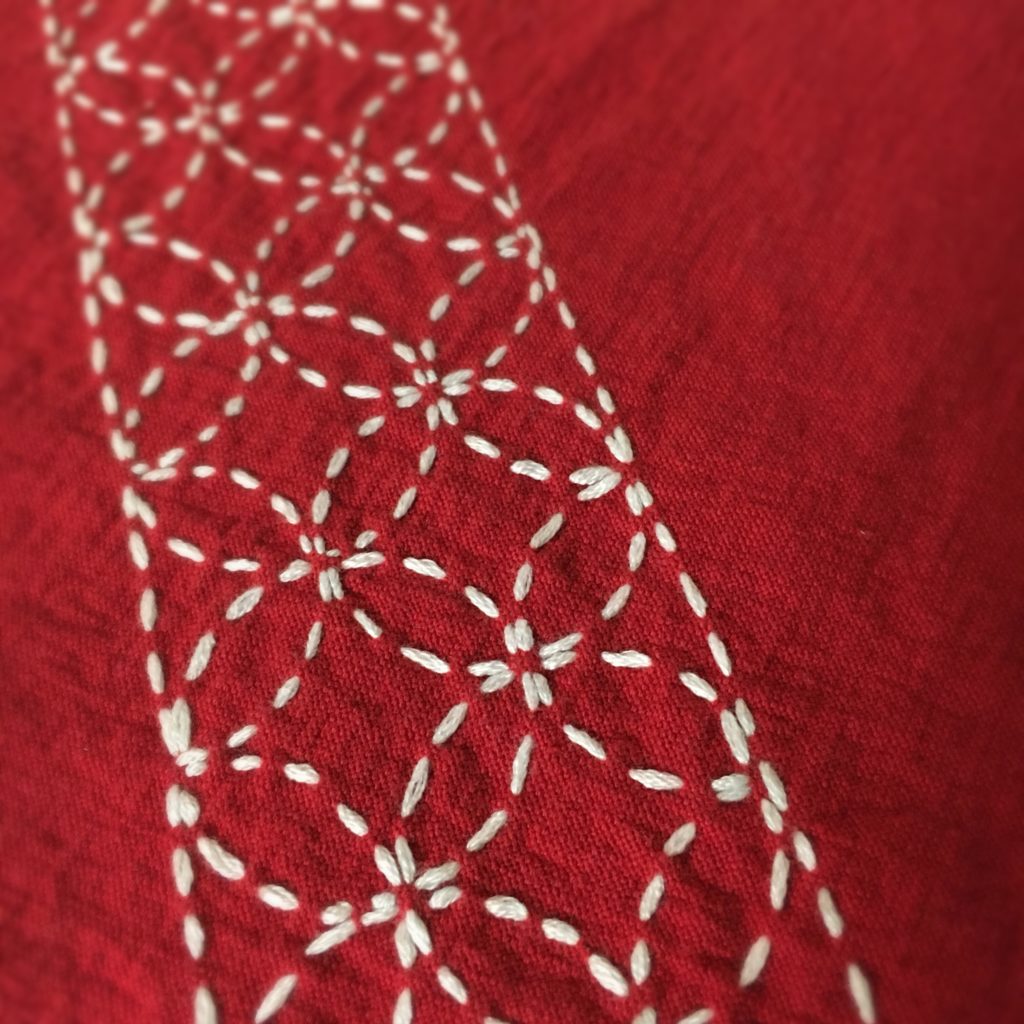
- The stitches on the front should be the same length, of course, but the stitches on the back should be one-half to one-third the length of the stitches on the front.
- At the intersection of lines, instead of working into the center, the stitches should all meet equidistantly from the crosspoint. However, when lines turn at a sharp angle, a stitch should be made directly into the corner to maintain the sharp angle rather than a curved corner. This website is much better at showing what I’m describing poorly.
- Think outside the box. Even though my pattern has a strong circle design, I didn’t stitch circle after circle. Try to stitch the straightest, longest lines to minimize backtracking, knots, and puckering.

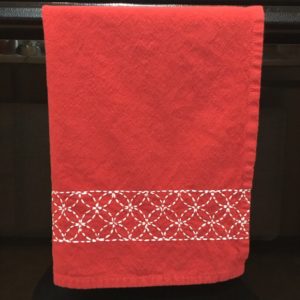
My first sashiko project is not necessarily a great example of proper technique, but this is folk embroidery, right? I think the overall look is really cool.
Materials
Sashiko pattern (I found a design I liked the look of, but I couldn’t find an actual working download. I ended up creating my own pattern in Microsoft Word based on it. It’s simple, but you’re welcome to use it yourself. Find it here.)
Sulky Sticky Fabri-Solvy (also known as Sulky Stick ‘n Stitch) self-adhesive water-soluble fabric stabilizer
Cotton or linen tea towel, washed and pressed
Sashiko or regular embroidery needle
White cotton sashiko thread or embroidery floss (This tea towel used just over one full skein of DMC floss.)
Thimble or bandages (I used bandages on my thumb and middle finger because I didn’t have thimbles. I found some silicone needle pullers that helped me grip the needle, but I still needed the bandages underneath to push the needle through the fabric.)
Scissors
Instructions
Print the sashiko pattern onto the fabric side of the Sticky Fabri-Solvy. With this stabilizer, what you see is what you stitch, so if your pattern is an obvious mirror image, you’ll want to flip it in an editing program before printing. If you’re using my pattern, cut it in half and test the position and length by overlapping the two sections, rotating if necessary to create a continuous pattern across the end of the towel. Peel back the paper from the sticky printed fabric and adhere it directly to the right side of the towel. (If you don’t want to use this adhesive stabilizer, using carbon paper or tracing the pattern with a lightbox will work, too.)

Here’s a good photo tutorial for the actual stitching part. And another that shows how to stitch the straightest, longest lines.
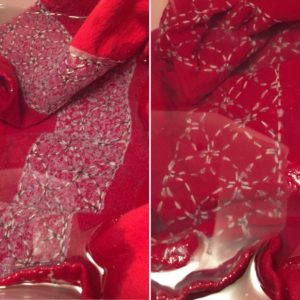
Once all the stitching is complete, soak the towel in a bowl of water for a few minutes. The stabilizer dissolves rather quickly. You may need to gently rub a few stubborn spots to speed things along. Then wash and dry the towel as you normally would.
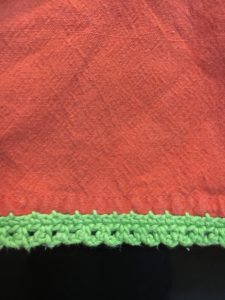
If sashiko isn’t for you, maybe you can try another style of embroidery. Or, add a crocheted or knitted edging. Here’s a photo of a towel that I made a few years ago as a sample for my “crochet for knitters” class. I used cotton fingering yarn (I imagine washable wool sock yarn would work, too.) and crocheted the edging before attaching it to the towel. I’m always happy when this one reaches the top of the stack in the dish towel rotation. I’m sure the recipient of any hand-embellished tea towel will be just as thrilled.

We only have 2 months to go until Christmas! Post your own Handmade Christmas photos on Instagram and tag me! I’m bronwyndp. I’m always looking for new ideas and would love to see your projects!


Love this, Bronwyn! You’re so multi craftual ☺
Thanks, Brenda! Knitting is still my favorite, but it’s fun to flirt with other crafts.