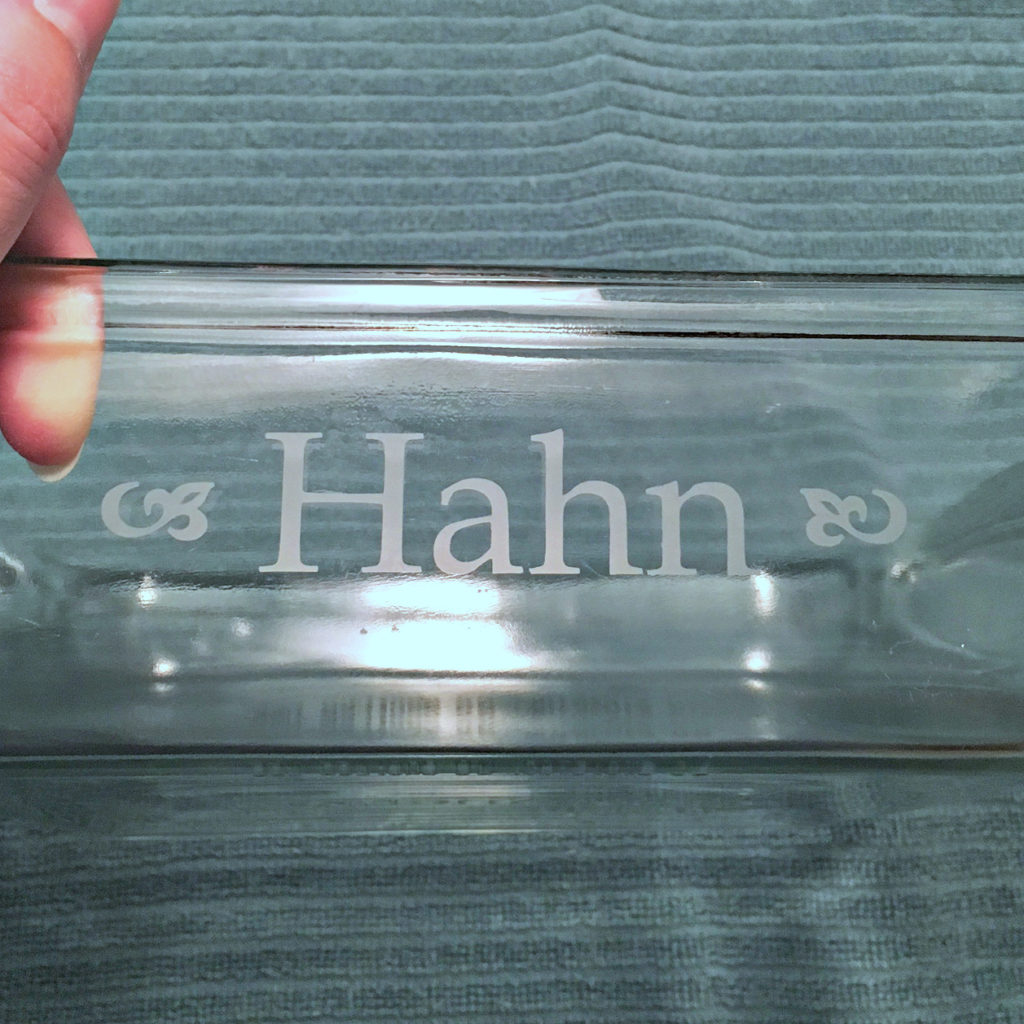
I can’t tell you how excited I am about this month’s project — etched glass baking dishes. I have wanted to make these for years, and I’m thrilled with how mine turned out!
If you’ve ever left your casserole dish at a potluck, you know that getting it back may or may not happen. Even if you do get a pan back, it might not be the same one you brought in. Sure, you can label it with masking tape or an address label, but those can wash off. Etching is permanent and dishwasher safe. (Family potlucks might be a little tricky if everyone has the same last name. If you’re planning to give a pan to every cook in the family, it might be a good idea to vary the design a little from one pan to the next.)
Supplies I used:
- Anchor Hocking 8″ x 8″ glass pan
- Armour Etch Glass Etching Cream (I bought a 2.8-oz. bottle that should last a really long time.)
- Con-Tact Brand Adhesive Covering (The pattern or color doesn’t matter.)
- Silhouette Portrait cutter and software
- Wooden craft stick to apply and remove cream
- Latex kitchen gloves
- Paper towels
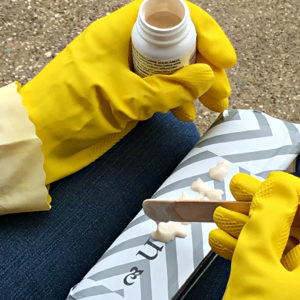
The general idea is to apply a stencil to the outside of the pan and then apply an etching cream for several minutes. The cream is removed to reveal a frosted design where the smooth surface of the glass has been eaten away.
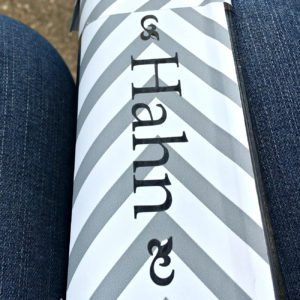
I finally jumped on the bandwagon and bought a Silhouette Portrait electronic cutting machine. I found an Amazon Prime Day deal and bought one in a moment of weakness; I feel less guilty for paying less than half the regular price. *If you don’t have access to a cutter like this, see my note below for an alternative method. Using the software that came with my Silhouette, I set up the design with simple fonts — Book Antiqua for the name and Wingdings 2 for the flourishes. I didn’t want to waste my good vinyl for this, so I cut my stencil from Con-Tact Paper. I used a square glass pan I’ve had for years.

I adhered the vinyl stencil to one side of the pan and rubbed it really well with the non-waxy side of the backing paper. I had to add the center of my “a” and tiny centers of my flourishes. It’s easy to forget those little bits, so I was relieved that I remembered. (I was able to use the chevron pattern of the vinyl to get proper placement of those little bits. Lucky accident!) I placed some scraps of vinyl on either side of the stencil in case I got carried away with the etching cream. I took all of my supplies outside to avoid inhaling fumes. (I couldn’t smell anything outside at all.) While wearing kitchen gloves, I then followed the instructions on the bottle of etching cream. I waited about 4 or 5 minutes before scraping the cream off and returning it to the bottle. After a few careful swipes of a paper towel, there was very little to rinse off. I then removed the vinyl to reveal my handiwork. Don’t panic if you can’t see the design while you’re rinsing; the design will appear once the pan is dry.

A few important notes:
- Don’t rinse off the cream in a porcelain sink unless you want to etch your sink, too.
- When wiping, be careful not to get any cream on the pan where it doesn’t belong. It works pretty quickly.
- The etching cream bottle says that it won’t work on some kinds of glass or Pyrex. It’s best to test an inconspicuous spot on the glassware with a tiny dot of cream and to buy just one pan before buying one for everyone on your gift list.
Now that I have the Silhouette and the bottle of etching cream, I can see all sorts of etched glass in my future!
*If you don’t have a cutting machine, a similar but opposite effect can be achieved using alphabet stickers. Spell out the name on the side of the pan and then mask off a rectangle around the letters. Apply etching cream to the area around the letters. The result will be a frosted rectangle with clear, untouched letters.
If you make this project or any other that I’ve shared with you, I hope you’ll let me know! I love to see others’ creative efforts!

