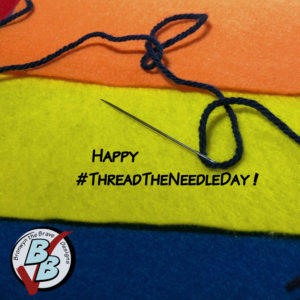
Happy Thread the Needle Day! The origin of this special day (July 25) is unknown, but as a crafter, I naturally think of sewing. This month’s project for Bronwyn’s Handmade Christmas uses the simplest sewing ever, so this one would be great for getting older kids involved.
I was immediately drawn to the paper snowflake-inspired Felt Ogee Ornaments made by Betz White. I found this project a while ago, and I’m so happy that I finally got around to making one. Betz recommended 3 mm felt because it is stiff enough to hold its shape. I couldn’t find it locally, so I bought a wool/rayon blend on Amazon. I thought mine was a tad too thick because it wrinkled a little as it bent around. I’m wondering if 2.5 mm or 2 mm felt would work better. The biggest drawback is that the thick felt is not typically sold in stores. I think the results are definitely worth the online shopping trip.
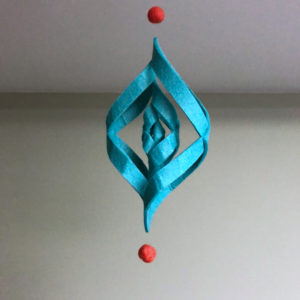
I used sewing thread to sew the overlapping edges and tied surgeon’s knots to secure. I used invisible quilting thread for hanging.
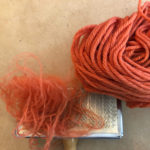
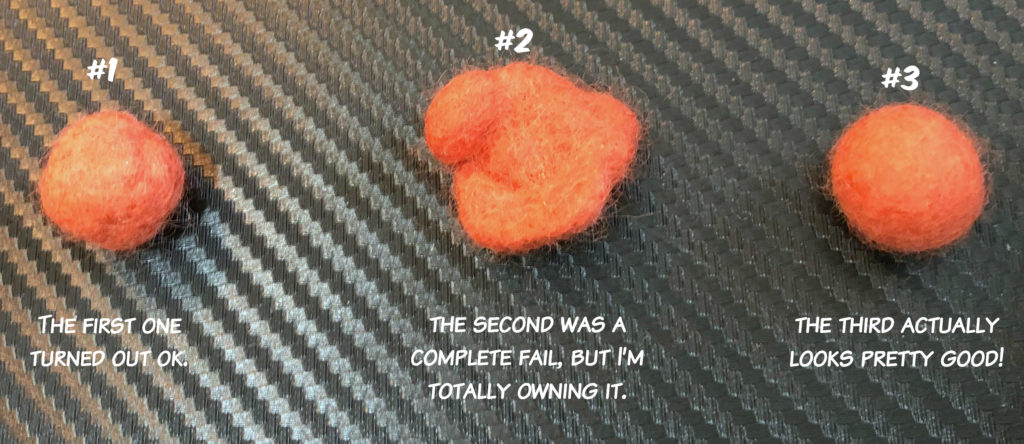
I made my own felt beads for this. Yep. With plain ol’ wool yarn.
How to make a felt bead:
Cut 2 yards of orange Cascade 220 100% wool yarn per bead. Acrylic and superwash yarns will not work. Fold it over several times and cut into shorter lengths to speed up the work. Using a slicker brush from the pet store, split the plies until you have a ball of fluff. Be careful with the brush since it can scratch your hands or work surface. When hand-felting, I like to wear kitchen gloves to save my hands from rugburn. Wet the fiber with hot water and add one drop of dish soap to help the felting process. Begin rolling the fiber very gently between cupped hands, gradually adding pressure as the ball gets smaller. The fiber should be rolled like a ball of clay, avoiding folds as much as possible. You don’t need to rub the fiber under running water, but re-wetting it from time to time may help. Changing the temperature of the water from hot to cold to hot again may help speed up the felting as well. Continue rolling ball until it is firm and uniformly round. Rinse any remaining soap. There is no need to let it dry before adding it to your bauble.
To attach my felt beads, I passed a needle with invisible thread through the center. To keep the bead suspended on the thread, I passed the thread around the outside and back through two more times. The invisible thread barely shows. With a loop tied for hanging, I was done! So cool!
But wait! There’s more!
I was completely in love with the twists and twirls of this first decoration, so I started rifling through my craft supplies. I found some sheets of craft foam and thin cheapo felt; both can be found in any craft store. The wheels started turning, and this is what I came up with. I think I like these even more! This one is super kid-friendly, so it’s a win-win!
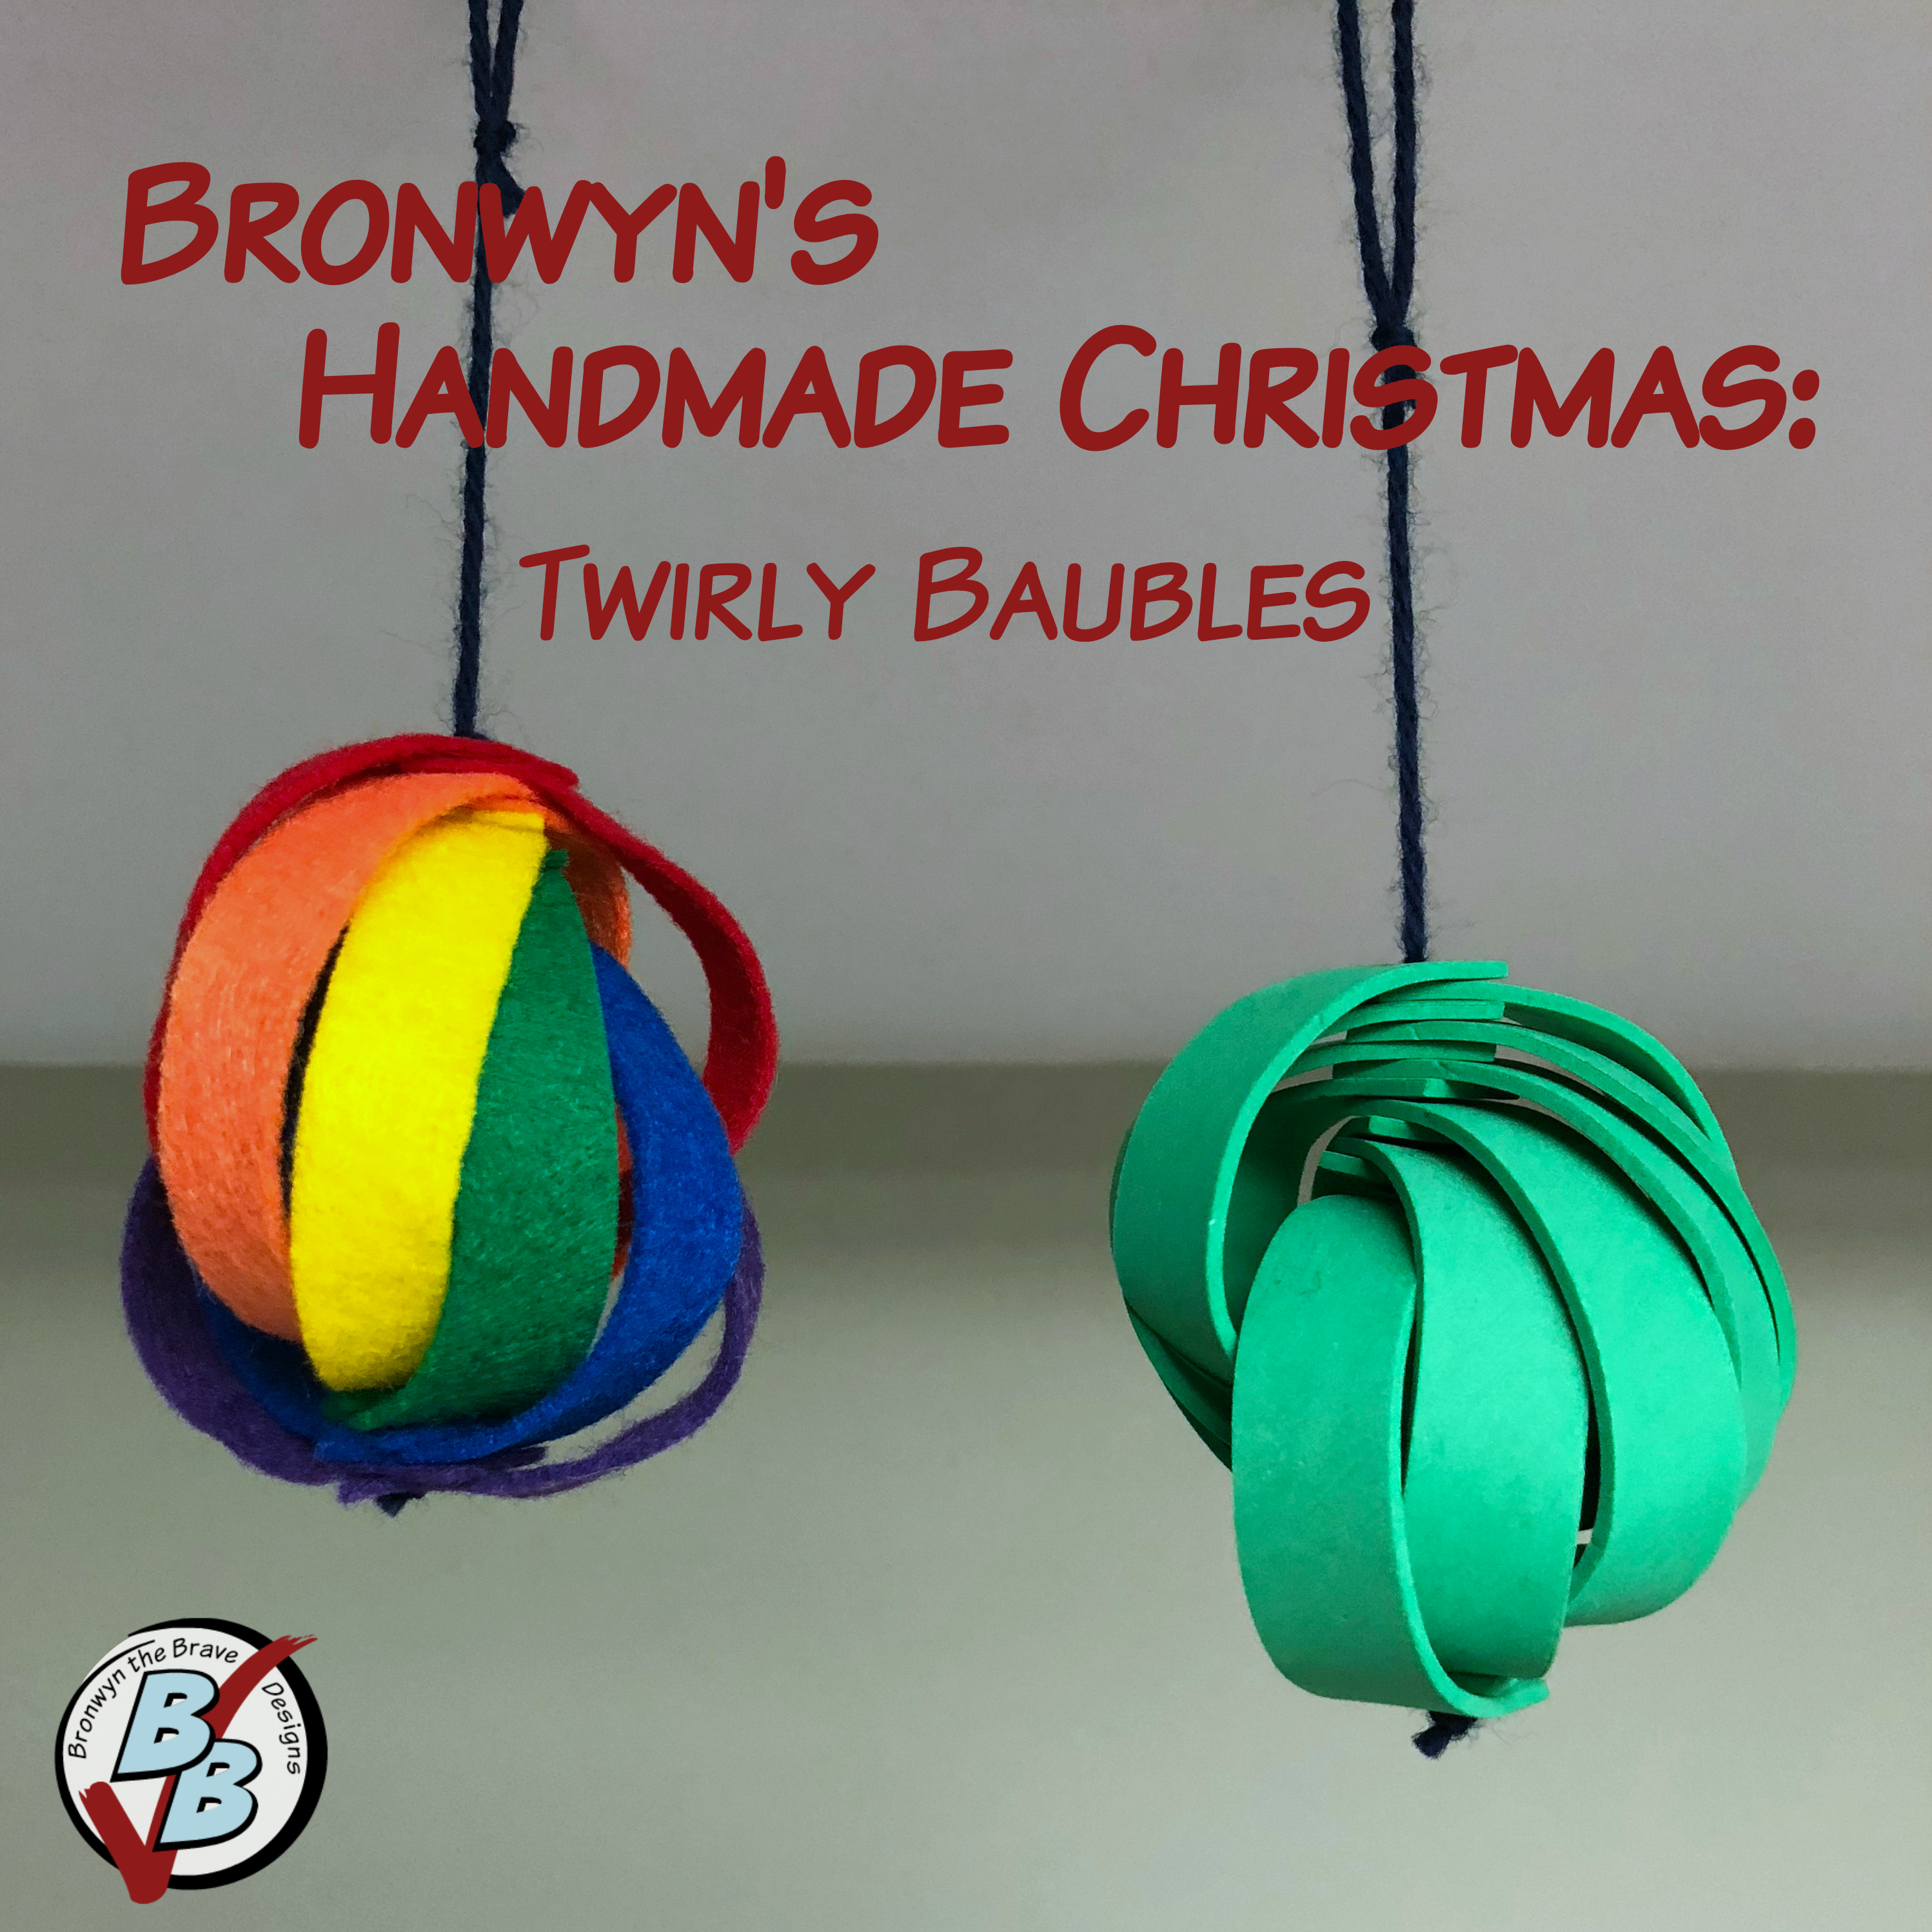
Twirly Bauble
- Thin felt or craft foam: 7.5” x 4.5” (or 3.75” x 9”)
- Scissors
- Ruler
- Rotary cutter & mat (optional)
- Pencil for marking (if cutting felt/foam with scissors)
- Sharp tapestry needle
- Yarn: about 24″ long
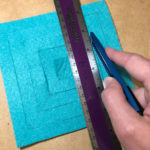
Cut felt or craft foam sheet into 12 strips, 5/8” x 4.5”. The rainbow felt bauble used two strips of each color.
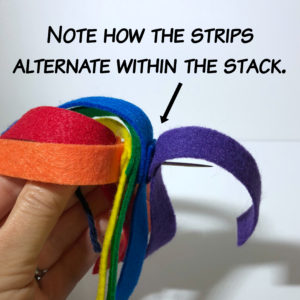
When overlapping strips, it might help to think of placing them on numbers on a clock. Place the first two strips (purple) at 9:00 and then 3:00, overlapping the ends by about 5/8” in the center. The next two (blue), at 8:00 & 2:00; followed by 7:00 & 1:00 (green), 6:00 & 12:00 (yellow), 5:00 & 11:00 (orange), and 4:00 & 10:00 (red). Be sure to work methodically, overlapping the pairs in the same order.

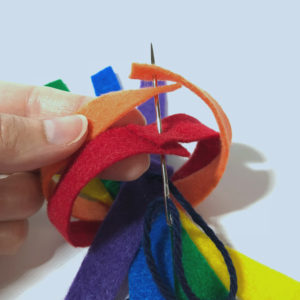
Thread a yarn needle with about 24” of coordinating yarn. Working from the top down, pierce each strip of felt/foam at the midpoint of where the strips overlap. Pull yarn through all layers. You might need to string a few at a time.
Flip the entire piece over. Beginning with the two strips that are on the bottom (red, in this case), bring the two ends around all the others and overlap in the center. Thread onto the same piece of yarn. Continue adding the bottom-most strips, keeping the original order intact. Note that the overlaps should alternate. See the example below.
Pull the yarn through all layers until it is taut through the center. Here is where you can play around a bit. Stretch and squish the piece along the length of yarn until you’re happy with the shape. Tie a double knot in the yarn at the top and bottom so the bauble holds its shape. Tie one end in a loop for hanging and trim ends. Of course, you can add felt beads to this one, too.
The Ogee Felt Ornament is quite long (8.5”, 11” including beads), so it might not fit on a Christmas tree very well. It is better suited for hanging in an open area. My friend Sarah wants to hang one on her porch. How fun! The Twirly Baubles are much smaller (3.5” to 3.75” long) and could be hung on a tree or in a window. Several of them hanging as a mobile would be cool, too. Or maybe strung like bunting along a mantle. I discovered a nice trick when I was looking for a place to hang mine so I could take a photo. Did you know that there is (probably) a metal strip at the edge of your drywall? Well, guess what. Magnets will stick to it! I used strong pushpin-shaped magnets to hang my ornaments. The only drawback is that you don’t have much control over the height. Still, this might be a nice way to hang something without having to use a nail.
What do you think? I know I’ll never look at a humble piece of felt or foam the same way again!
I’d love to see your handmade projects! If you make one of these ornaments, please tag me on social media–@bronwyndp and #bronwynshandmadechristmas. Follow me while you’re over there!
Have you signed up for my newsletter? Click the button below to get emails from me from time to time.
[maxbutton id=”4″ window=”new” ]
Leave a Reply